PSDCovers Actions Overview

What follows is a brief explanation of the process we go through to create the Actions found on this site. Our Actions use Photoshop’s powerful image manipulation tools to render a high-impact, high-resolution product that will incorporate your design. To do this, a lot of preparation is done with every product.
Selection Process
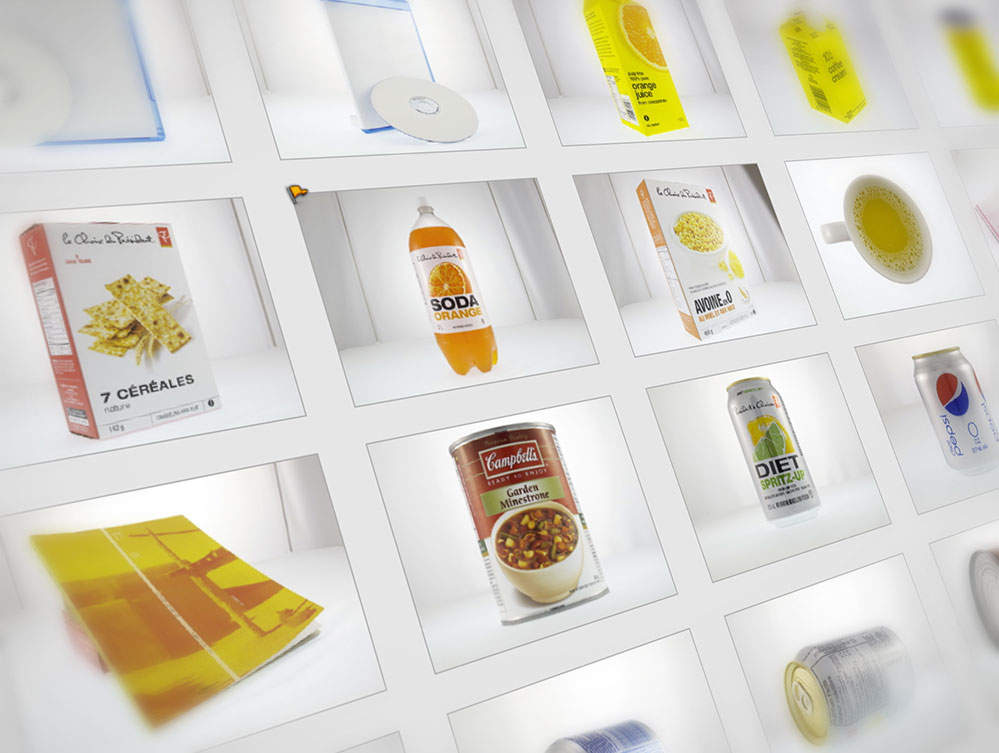
Our only criteria for any product is that the packaging must be generic. Once we have identified a group of products, or objects, we head to the studio and it’s Lights, Camera, Action!

generic forms
What we mean by “generic” is that the object being considered as an Action cannot itself be identifiable to a specific product. The mug shown above is just a mug. It’s very unlikely that anyone, including the manufacturer, could identify the origins of this mug. It’s generic.
If the Starbucks and Campbells logo were removed from the next two products then we’d be left with a very generic paper coffee cup and tin can. Both products are generic and unlikely to be associated with any particular brand or manufacturer. Our selection process is not done to avoid copyrights or trademarks, it’s done to ensure that each Action will be suitable for a much wider range of products.
At the opposite end of the spectrum ie., not generic, view the 3 examples below: Coke, Vodka and Jack Daniels all ship in bottles with iconic shapes which are very specific to their brand and therefore do not meet our criteria to be turned into Actions. However, that does not preclude us from creating them upon request from the owners.

branded forms
Thankfully, there is no shortage of products being shipped in generic packaging to keep us busy.
The Photoshoot
Armed with a cart full of generic packaging we head to the photo studio to begin capturing the photos that will be used as the templates for their Action counterparts. One at a time, each product is then placed into the light box and we beginning snapping photos. The entire session is not random, nor is it quick. Each product is photographed as a series of 12 shots for a full 360° product view.
This works out to a minimum of 36 photos per object, kinda. Shooting at multiple ISO’s often raises that number, however, very few objects are interesting to rotate a full 360°. For example, the aluminium soda can doesn’t need to be rotated into 12 positions because it’s a cylinder.
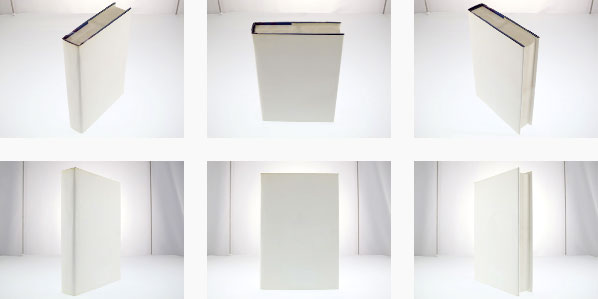
Here are the angles we shoot at followed by a sequence of sample shots:
- Level to the base of the object (Worms eye view)
- Level to the center of the object (Full/Straight on view)
- Birds eye view

sample novel from multiple angles
The birds eye view sequence (top row) is a fixed height from the floor to the top of our lightbox. The height is unimportant since every photographer has their own preference, however, maintaining a consistent height across all our photoshoots is something we try to adhere to (more on that below).
With multiple shots from multiple angles we need to sort through the ones we want to create Actions for. Ideally we’ll eventually make one for each, unfortunately the turnaround time for each Action can be a few days. So for any given object you may see several Actions with the average being 3 Actions per object.
In the short term we would like to focus on variety rather than quantity.
Layering Process
The final process is to deconstruct the photo we want to convert into an Action to post on this site. These Actions can sometimes involve several hundred recorded steps so we try to choose objects which we think will get some traction. The average Action has 300 steps.
For the sake of brevity the process is represented by the following 6 images:


- Photo: The selected photo to be converted into an Action
- Mask: We start off by creating an outline of the object to serve as a mask.
- Materials: Where necessary, attempts to recreate the material the object is made from to increase the realism even if it’s barely perceptible in the final render
- Shadows: Depth and presence are applied to the object through a series of shades and shadows
- Texture: This is where your 2D artwork is incorporated into the rendering process. Distortion and warping tools in Photoshop are used to exactly mimic the perspectives found in the photo.
- Lighting: Surface lighting is added as a last step to simulate the reflectivity of the object’s materials.
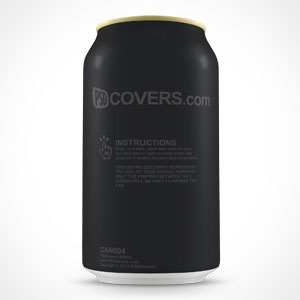
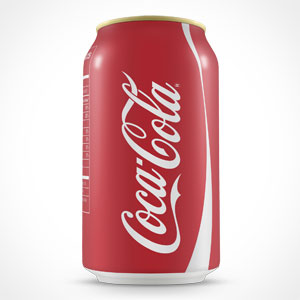
All Actions come with a default PSDCovers 2D texture which is rendered by the Action. This dark texture is the only branding which ships with our Actions (see left image below). If you supply your own 2D graphic then the output can be very different (right image).

Without artwork

With artwork
And that is a short-form version of our workflow. We will reveal more through future tutorials and articles.

