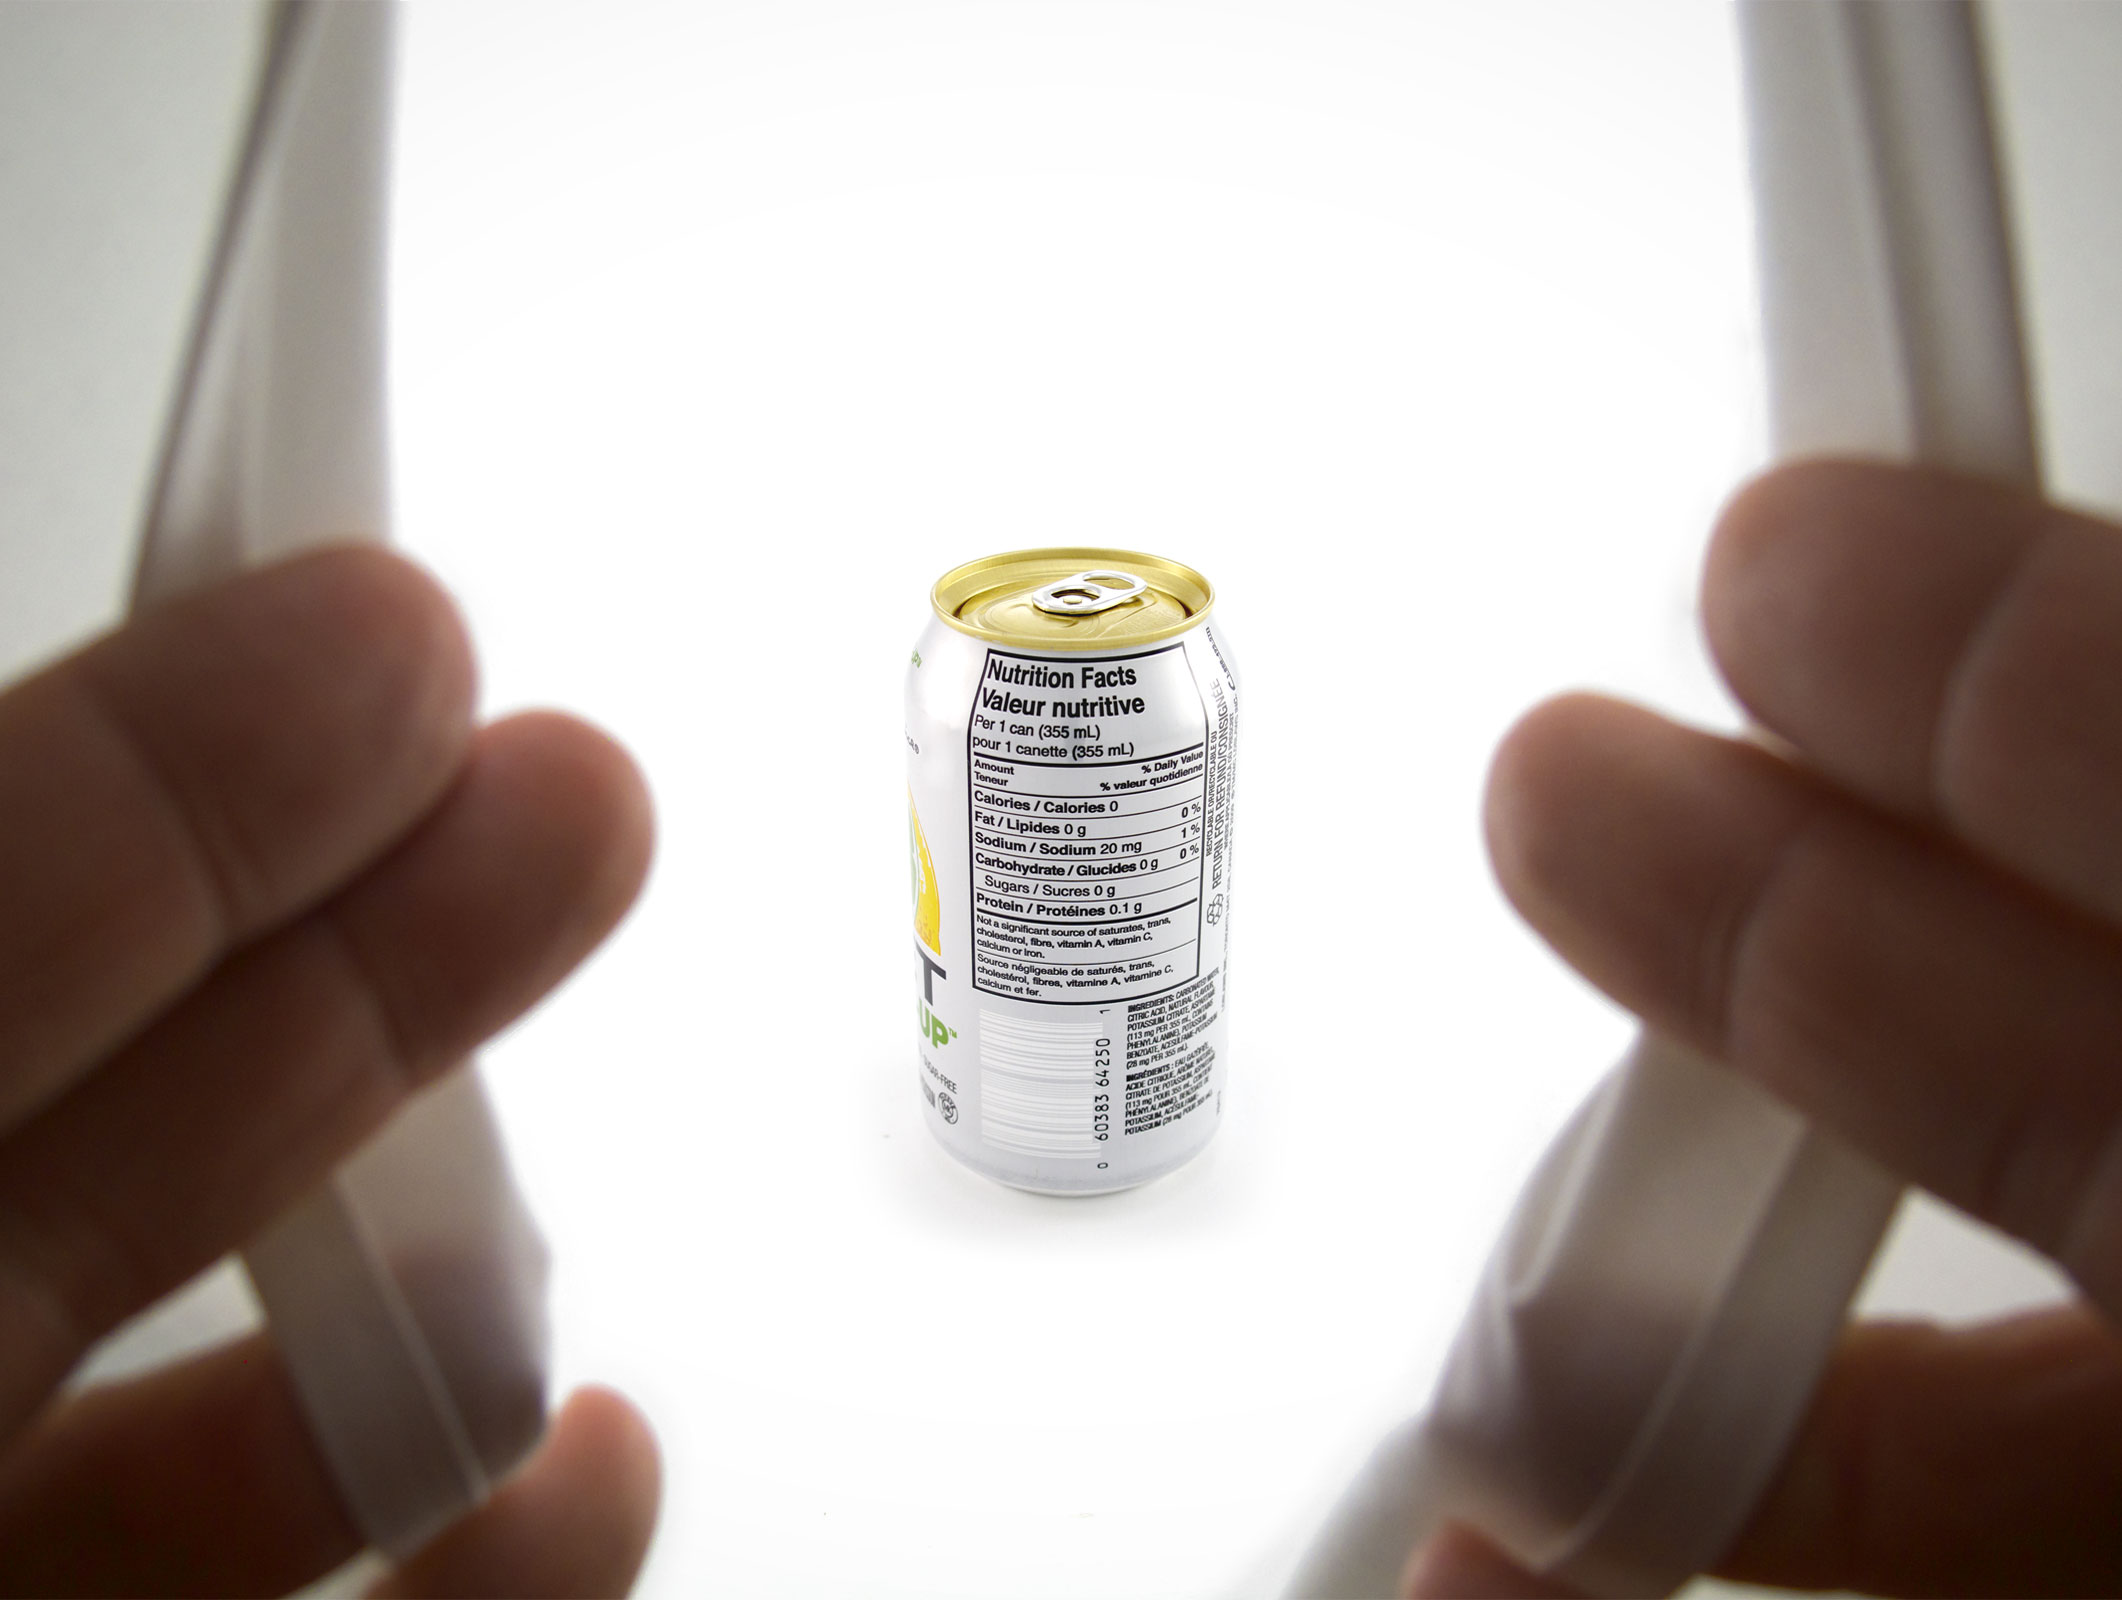
Studio Setup Overview
Creating a Cover Action product is a time consuming process, however, I enjoy it because it keeps the brain occupied. This site doesn’t currently have an in-depth tutorial on how to create a Cover Action but I did recently author a post on psd.tutsplus.com that should be out around the time your read this. In this post I’m just going to provide some information about the hardware required to do the product photography shots that represent the Cover Actions found on this site.
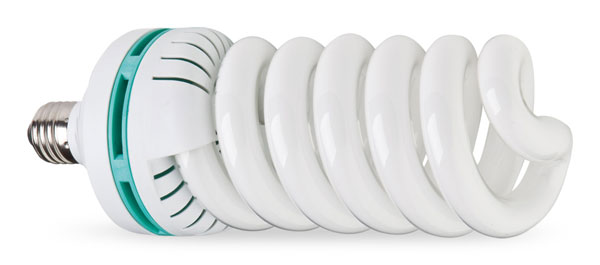 It looks like a standard fluorescent bulb but these beasts are 27cm (10.5 inches) long and ~8cm in diameter.
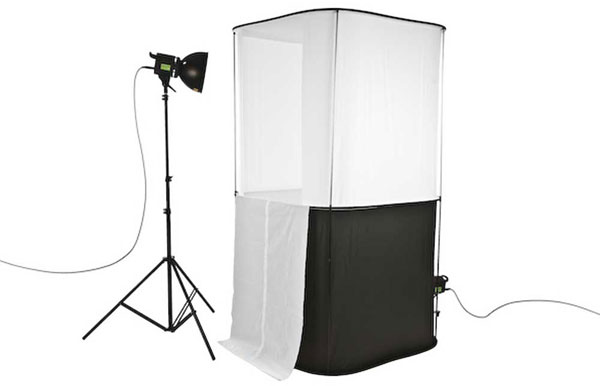 There is a great video on Youtube about the Cubelite which demonstrates how to use a lightbox to do product photography.
Ignoring the fact the video is trying to sell you on the Cubelite, the rest of the video illustrates exactly the process I go through to take all the photography for this site. In fact, this video was instrumental in convincing me I could make the Actions seen on this site if I had such a lightbox.
Building a lightbox in order to create the Photoshop Actions on this site was not an option. Without a lightbox, Actions would end up at varying resolutions that have little, if any, relation to each other. Photos taken in a lightbox maintain a level of image quality that directly translates to the Actions on this site—they simply look like they belong together.
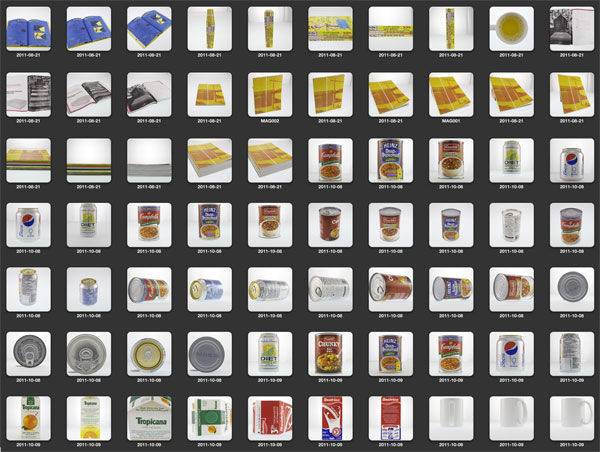 A welcome side effect of building my own lightbox is avoiding copyright issues. It’s always best to do all your own work, and since most of the content of this site is shot at standard angles of 0, 30, 45, 60 and 90 in both the horizontal and vertical planes they tend of be very generic in nature. The lack of composition tends to further water down the possibility of litigation, but if it happens then it would be very easy to pull out the source photo which is a pixel perfect match for the Action.
The OSX and iOS Apple products are a different story and the developers and designers that download the Actions seem to appreciate them regardless (fingers crossed). The Apple products are incompatible with the angles, and scale, of the Actions on the rest of the site (and sometimes with each other)—they are very specifically made to help a designer or developer showcase their apps.
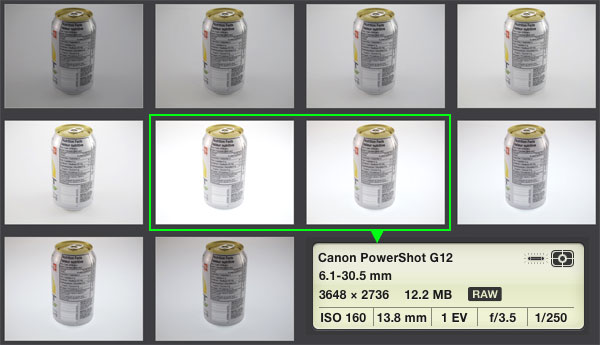 I take multiple shots at specific ISO levels to ensure that I capture as many subtleties as possible from the product. Things like highlight, specular, shadow and contrast.
Looking at the image above you can see 10 shots of the can:
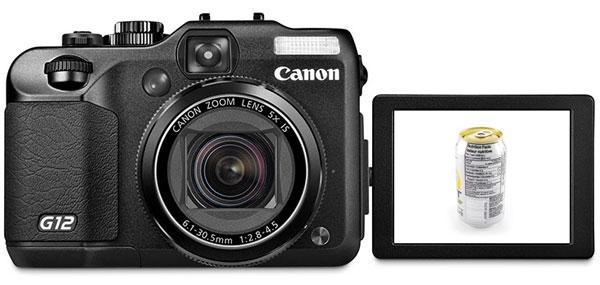
The Camera
I’m currently using a Canon Powershot G12. It’s a nice camera but it’s far from ideal for product photography. However, since this entire site was an exploration into learning how to build a website from the ground up (server setup, theme, content, social, ads etc) I wanted to keep the investment in the camera itself to a minimum at first. The G12 will suffice for the short term and works for this site because the photos are not the end product, the Actions are.
The Lights
For lighting, I use several 85W 5500k daylight fluorescent bulbs because they run cool so the room never gets hot (bright as hell though). This allows me to work slowly and see a decent preview in the camera’s LED screen, here’s what the bulb looks like: It looks like a standard fluorescent bulb but these beasts are 27cm (10.5 inches) long and ~8cm in diameter.
The Lightbox
Aside from the OSX and iOS Apple products, everything else is based on a product shot taken in a custom built lightbox which measures exactly 100cm squared (not including the base). It’s a perfect cube surrounded by a series of cool daylight fluorescent bulbs that surround the exterior as well as underneath the lightbox. The only unfortunate thing about my lightbox is that it never occurred to me to take photos of it while building it. However, my lightbox design is based on the Cubelite (below) and the advantage of building it is that it’s the size I wanted and it can support objects up to 60kg (130lbs). The disadvantage is that it doesn’t fold away as neatly as the Cubelite does. There is a great video on Youtube about the Cubelite which demonstrates how to use a lightbox to do product photography.
Ignoring the fact the video is trying to sell you on the Cubelite, the rest of the video illustrates exactly the process I go through to take all the photography for this site. In fact, this video was instrumental in convincing me I could make the Actions seen on this site if I had such a lightbox.
Building a lightbox in order to create the Photoshop Actions on this site was not an option. Without a lightbox, Actions would end up at varying resolutions that have little, if any, relation to each other. Photos taken in a lightbox maintain a level of image quality that directly translates to the Actions on this site—they simply look like they belong together.
 A welcome side effect of building my own lightbox is avoiding copyright issues. It’s always best to do all your own work, and since most of the content of this site is shot at standard angles of 0, 30, 45, 60 and 90 in both the horizontal and vertical planes they tend of be very generic in nature. The lack of composition tends to further water down the possibility of litigation, but if it happens then it would be very easy to pull out the source photo which is a pixel perfect match for the Action.
The OSX and iOS Apple products are a different story and the developers and designers that download the Actions seem to appreciate them regardless (fingers crossed). The Apple products are incompatible with the angles, and scale, of the Actions on the rest of the site (and sometimes with each other)—they are very specifically made to help a designer or developer showcase their apps.
10 Photos Per Product
Every product goes through a set of 10 shots even though I only ever use the same 2 ISO settings, 160 or 200 (highlighted in green below). I take multiple shots at specific ISO levels to ensure that I capture as many subtleties as possible from the product. Things like highlight, specular, shadow and contrast.
Looking at the image above you can see 10 shots of the can:
- The first 5 have no sub-surface light source
- The last five have sub-surface light
