Panel Never Displays Thumbnails – Throws Error When Rendering Mockup
Summary
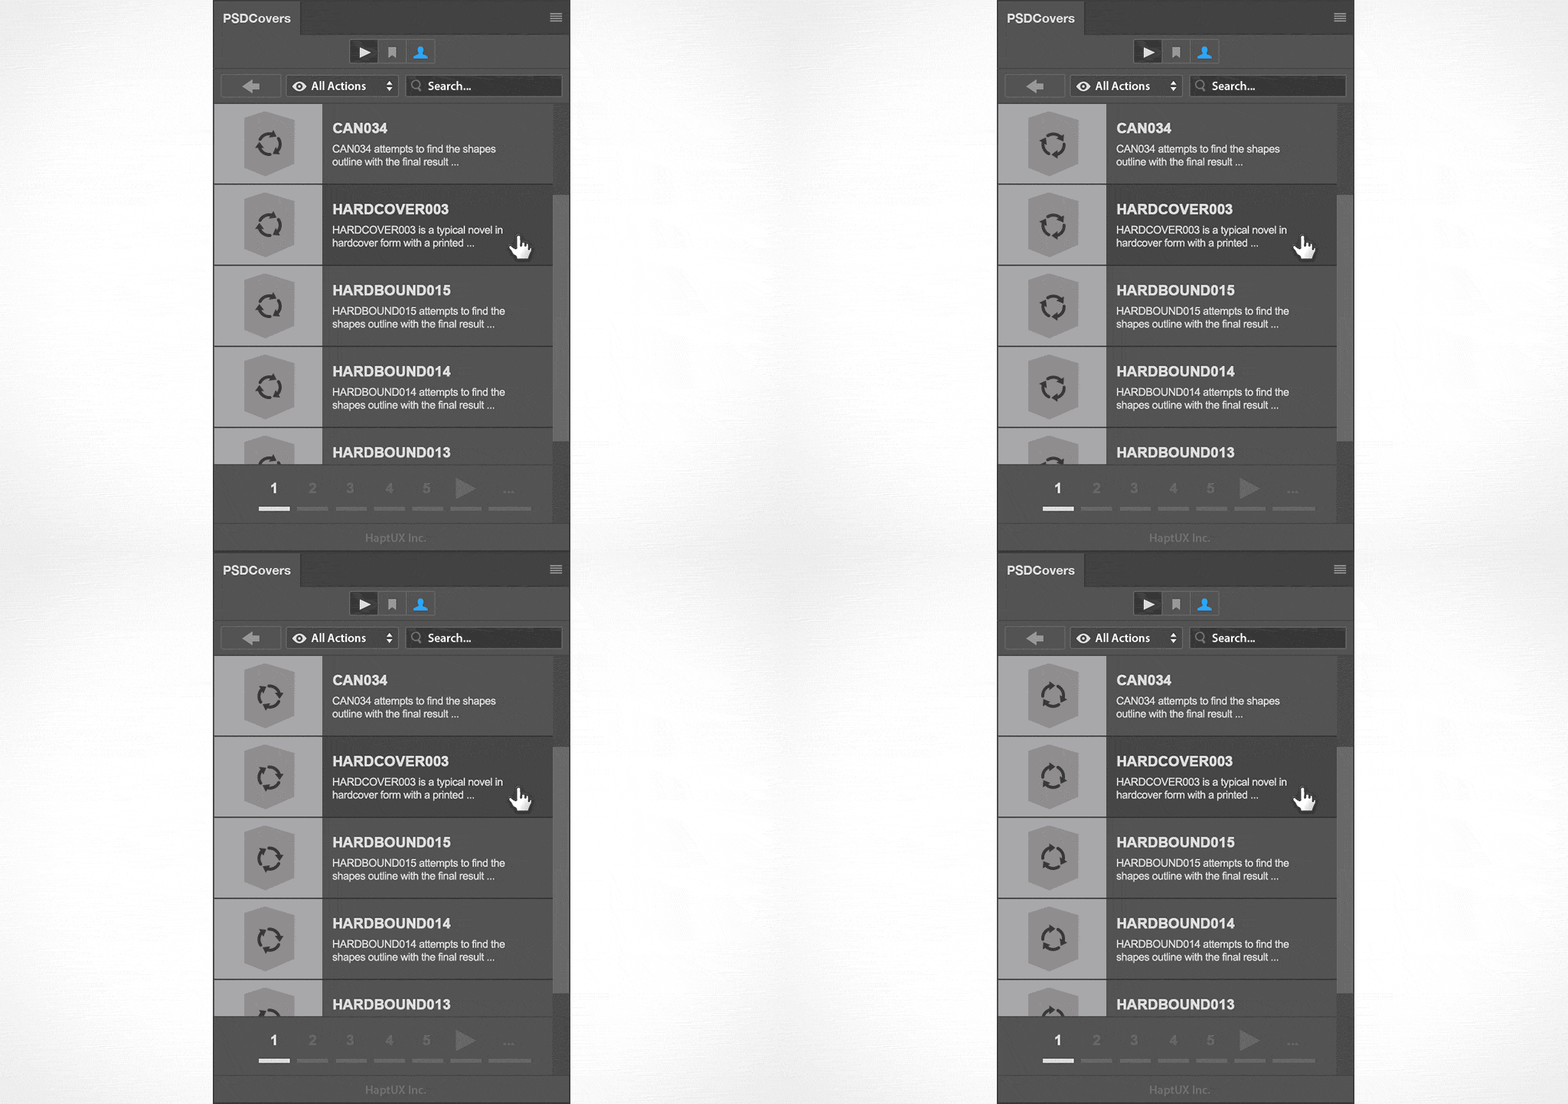
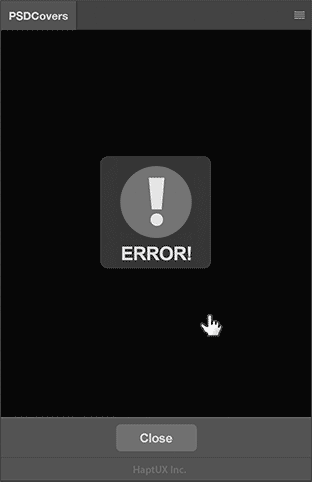
“The panel seems to never load the thumbnail previews and displays an ERROR! notification if I try rendering STEP 1 or STEP 2.”
When the panel displays a list of mockups with their titles and descriptions but fails to load the thumbnail previews then the issue is a missing cache folder. There was a permissions error during the installation process but it continued without alerting you.
What’s the cache folder for?
In order for the panel to function properly it needs to save assets locally to your hard drive such as the thumbnail previews and Action Scripts. These resources allow you to visually browse the mockups and render the ones you like. If the cache folder is missing then the panel has nothing to execute so it displays an ERROR! notification.Solution
The solution is to manually create the missing PSDCovers cache folder — there is no need to re-install the panel. Mac OS X Instructions- Go to the Finder
- From the Finder Menus, Click on the “Go” Menu…
- Select “Go to folder…” from the Go Menu
- A modal window will slide into position over a Finder Window…
- Enter the following path making sure to include the tilde (~) character
- ~/Library/Application Support/Adobe/
- The Finder will display the Adobe folder …
- Once in the Adobe folder, look for the folder that matches the installed version of Photoshop. For example, if the installed version is Photoshop CC 2018 then look for a folder named Adobe Photoshop CC 2018, if it’s Photoshop CC 2017 then look for Adobe Photoshop CC 2017, if it’s Photoshop CS6 then look for Adobe Photoshop CS6 and so on
- Open folder Adobe Photoshop CC 2018
- Create a new folder named PSDCovers (be careful to match case)
- Restart Photoshop
- Open the PSDCovers panel and start browsing and rendering!
- Go to the File Explorer
- Using File Explorer, navigate to the following folder
- <drive letter>:\Users\<username>\
AppData\Roaming\Adobe\ — be mindful to replace <drive letter> with your own corresponding drive assignment (C, D, E etc.) and to replace <username> with that of the current user. - File Explorer is now displaying the Adobe folder
- Once in the Adobe folder, look for the folder that matches the installed version of Photoshop. For example, if the installed version is Photoshop CC 2018 then look for a folder named Adobe Photoshop CC 2018, if it’s Photoshop CC 2017 then look for Adobe Photoshop CC 2017, if it’s Photoshop CS6 then look for Adobe Photoshop CS6 and so on
- Open folder Adobe Photoshop CC 2018
- Create a new folder named PSDCovers (be careful to match case)
- Restart Photoshop
- Open the PSDCovers panel and start browsing and rendering!

